
I’m not a great fun of pumpkin or rather I don’t take plain pumpkins. Actually, I used to hate them. Ever since my mother started cooking pumpkin chapatis, I changed my perspective towards pumpkins. They are the secret to soft, sweet chapatis. In many Kenyan households, chapati is a common dish mostly prepared on weekends when people are out of work. Why not try out this easy pumpkin chapati recipe then you can make them for the whole family? Trust me, they will be flying off the plate and you would want to have them every single day of the week.
INGREDIENTS
1 kg wheat flour
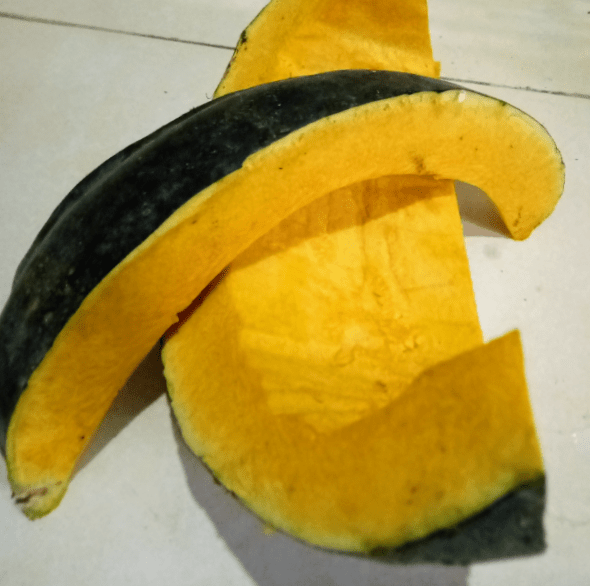
1/2kg diced pumpkin
Salt to taste
1/4 cup sugar
Cooking oil
500 ml warm water
PROCEDURE
Boil the diced pumpkin(without the outer cover) adding salt to taste until it is tender and easy to mash. (I use pressure cooker because it takes less time)
Use a mwiko to mash the pumpkin or Puree the pumpkin in a blender.
Using your clean hands mix the flour, salt, sugar and the pumpkin puree in a bowl kneading at the same time.
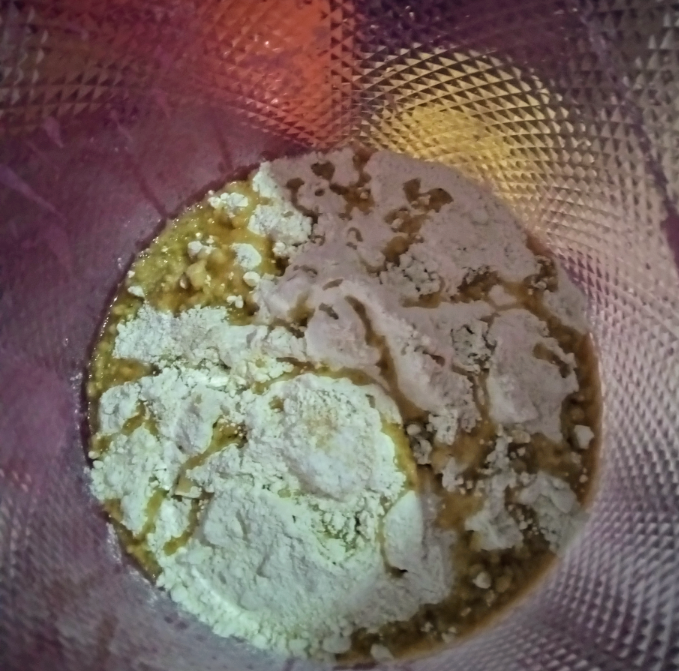
Add water if required and continue kneading until you have a smooth dough. Add 2 tablespoons of oil and keep kneading the dough untill its well mixed.
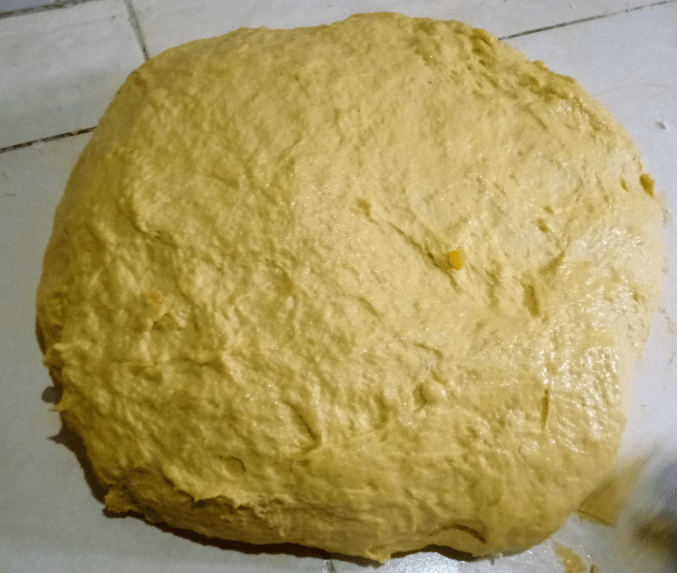
Cover the dough and let it rest for 20 minutes.
Knead the dough again and divide it into balls. Dust the surface with some flour to avoid the balls from sticking. Flatten each ball and roll out thinly into sizeable circles.
Heat the pan over a medium flame. Lightly grease the pan and slowly heat the first chapati. Cook on one side for about 1 minute or until lightly brown, then flip and cook the other side.
Remove the chapati and place it in a warm dish. Repeat this process for every chapati.
Enjoy your chapatis with stew of your choice but I prefer peas stew and some steamed cabbage.


 INGREDIENTS
 INGREDIENTS
 INGREDIENTS